Eagle Eye Networks
Solution
The integration between Kisi and Eagle Eye Networks enables security professionals to quickly pull video associated with a door event or activity and allows them to be viewed directly in the Kisi dashboard. These crucial access events include people entering or exiting a building, a door being held or propped open, or potential facility break-in attempts.
Benefits
- Keep your spaces operational 24/7
- Enhance monitoring in your spaces with unparalleled cloud security
- Save time by accessing the video that matters in one dashboard
- Leverage a completely secured ecosystem with video and access control data
Requirements
Media

About our Partner
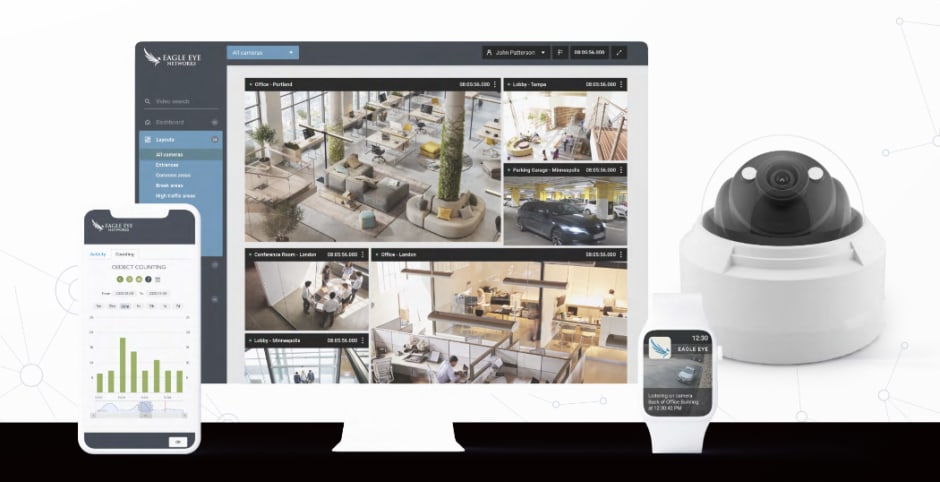
Eagle Eye Networks is the global leader in cloud video surveillance, delivering cyber-secure, cloud-based video with artificial intelligence (AI) and analytics to make businesses more efficient and the world a safer place. Eagle Eye provides security and real-time business intelligence, helping organizations of all sizes and types optimize operations.
Navigate to our product documentation to find the complete integration guide